Polymaster Round, Water Tanks Geelong and Bannockburn

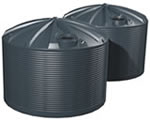
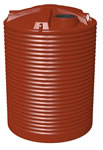
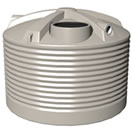
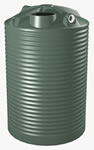
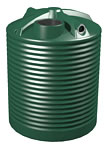
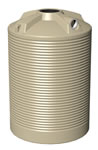
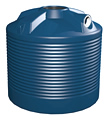
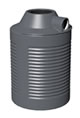
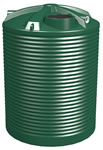
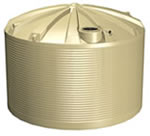
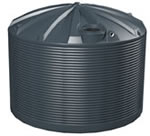
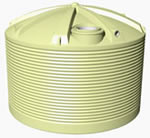
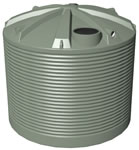
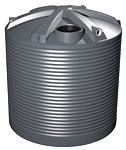
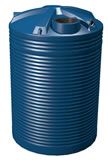
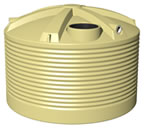
Harvesting Rainwater & Choosing your Tank Size

There are a few points to consider when choosing your rainwater tank. While you can never have a rainwater tank that is too big, you can certainly have one that is too small, in which case you will find yourself running out of water more often than not.

Round 17

RWT45000

  • 45000 litres (10000 gal)combo
  • Combination 2 x 22500 litre tanks
  • 12.00 Strainer Position
Round 7

RWT3300

  • 3300 litres (730 gal)
  • 1.52m (5′) Diameter
  • 2.00m (6’6″) Inlet Height
  • 2.10m (6’10”) Overall Height
  • 12.00 Strainer Position
  • 11.00/4.00 Overflow Position
  • 6.00 Outlet Position
Round 6

RWT1600

  • 1600 litres (350 gal)
  • 1.25m (4’1″) Diameter
  • 1.50m (4’11”) Inlet Height
  • 1.61m (5’3″) Overall Height
  • 12.00 Strainer Position
  • 11.00/4.00 Overflow Position
  • 6.00 Outlet Position
Round 5

RWT2270T (Tall)

  • 2270 litres (500 gal)
  • 1.30m (4’3″) Diameter
  • 1.92m (6’4″) Inlet Height
  • 2.00m (6’6″) Overall Height
  • 12.00 Strainer Position
  • 11.00/5.00 Overflow Position
  • 6.00 Outlet Position
Round 4

RWT1600

  • 1600 litres (350 gal)
  • 1.25m (4’1″) Diameter
  • 1.50m (4’11”) Inlet Height
  • 1.61m (5’3″) Overall Height
  • 12.00 Strainer Position
  • 11.00/4.00 Overflow Position
  • 6.00 Outlet Position
Round 3

RWT1000

  • 1000 litres (220 gal)
  • 1.00 m (3’3″) Diameter
  • 1.50m (4’11”) Inlet Height
  • 1.50m (4’11”) Overall Height
  • Centre Strainer
  • 12.00 Overflow Position
  • 6.00 Outlet Position
Round 2

RWT600

  • 600 litres (132 gal)
  • 1.00 m (3’3″) Diameter
  • .95m (3’1″) Inlet Height
  • .95m (3’1″) Overall Height
  • Centre Strainer
  • 12.00 Overflow Position
  • 6.00 Outlet Position
Round 18

RWT63400

  • 63400 litres (12000 gal)combo
  • Combination 2 x 31700 litre tanks
  • 12.00 Strainer Position
Round 1

RWT200

  • 200 litres (45 gal)
  • .60 m (1’11”) Diameter
  • .90m (2’11”) Inlet Height
  • .90m (2’11”) Overall Height
  • Centre Strainer
  • 12.00 Overflow Position
  • 6.00 Outlet Position
Round 8

RWT4500T (Tall)

  • 4500 litres (1000 gal)
  • 1.70m (5’8″) Diameter
  • 2.10m (7’3″) Inlet Height
  • 2.20m (7’3″) Overall Height
  • 12.00 Strainer Position
  • 11.00/4.00 Overflow Position
  • 6.00 Outlet Position
Round 16

RWT31700

  • 31700 litres (7000 gal)
  • 4.10m (13’4″) Diameter
  • 2.61m (8’7″) Inlet Height
  • 3.04m (10′) Overall Height
  • 12.00 Strainer Position
  • 11.30/2.30/5.30/8.30 Overflow Position
  • 4.00 Outlet Position
Round 14

RWT22500

  • 22500 litres (5000 gal)
  • 3.56m (11’8″) Diameter
  • 2.47m (8’1″) Inlet Height
  • 2.80m (9’2″) Overall Height
  • 12.00 Strainer Position
  • 11.30/2.30/5.30/8.30 Overflow Position
  • 4.00 Outlet Position
Round 13

RWT13600

  • 13600 litres (3000 gal)
  • 3.10m (10’2″) Diameter
  • 2.10m (6’11”) Inlet Height
  • 2.45m (8′) Overall Height
  • 12.00 Strainer Position
  • 11.00/2.00/5.00/7.00 Overflow Position
  • 4.00 Outlet Position
Round 12

RWT9000

  • 9000 litres (2000 gal)
  • 2.50m (8’2″) Diameter
  • 2.05m (6’9″) Inlet Height
  • 2.26m (7’5″) Overall Height
  • 12.00 Strainer Position
  • 11.30/2.30/5.30/8.30 Overflow Position
  • 6.00 Outlet Position
Round 11

RWT7100

  • 7100 litres (1560 gal)
  • 2.15m (7’2″) Diameter
  • 2.12m (7′) Inlet Height
  • 2.30m (7’5″) Overall Height
  • 12.00 Strainer Position11.00/3.00/7.00 Overflow Position
  • 6.00 Outlet Position
Round 10

RWT5000

  • 5000 litres (1100 gal)
  • 1.70m (5’8″) Diameter
  • 2.37m (7’10”) Inlet Height
  • 2.47m (8’2″) Overall Height
  • 12.00 Strainer Position
  • 11.00/4.00 Overflow Position
  • 6.00 Outlet Position
Round 9

RWT4500LP (Low Profile)

  • 4500 litres (1000 gal)
  • 2.15m (7’2″) Diameter
  • 1.38m (4’6″) Inlet Height
  • 1.58m (5’2″) Overall Height
  • 12.00 Strainer Position
  • 11.00/3.00/7.00 Overflow Position
  • 6.00 Outlet Position